Or maybe you’re like me and you need very good screenshots and not blurry or grainy or flickering screenshots that you normally get when trying to take pictures of computer screens. Unfortunately, there is no way to take a screenshot of a boot environment if no operating system is loaded. What program would you use to take the screenshot? Luckily, there is a way around this. Here’s what you do. Instead of booting the CD or DVD when you restart your computer, boot it into a virtual machine that is running on your current operating system. If that sounds scary to you, don’t worry, it’s not all that bad. Virtual machine software basically lets you run other operating system inside your current OS. So you could run Linux inside Windows 7 or run Windows XP inside Windows 8, etc, etc. So how do you go about doing this? Install a virtual machine program. There is really only one that is free and that works well: VirtualBox. It’s completely free and has a lot of features. For our purposes, we don’t care about all the bells and whistles, we just want it to load our CD/DVD or ISO image, if you’re using that. Other virtual machine applications are Parallels (Windows/Mac/Linux), VMware (Windows) and VMware Fusion (Mac). These are commercial applications you would only need if you worked with virtual machines on a regular basis.
Using VirtualBox for Screenshots
To get started, go ahead and download VirtualBox for your operating system and install it. Once installed, open the program and it should look something like this:
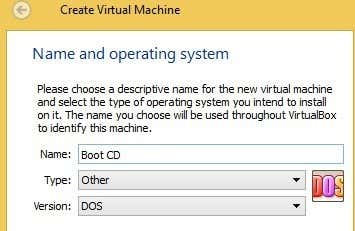
Go ahead and click on the New button and you’ll get a pop up window where you’ll need to enter some info about the virtual machine you’re creating.
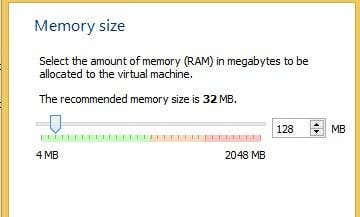
Go ahead and give your virtual machine a name and then choose the Type and Version. For Type, you’ll have options like Windows, Linux, Mac, BSD, Solaris, etc, but you’re going to want to pick Other since you’re not actually planning on installing anything. You just want to boot from the disc or image and that’s it. For Type, your choices will mostly will be DOS or Other/Unknown. There are some other choices there, but it’s very specific stuff that you would only choose if you were installing that particular OS. Click Next and you’ll need to choose the amount of RAM you want to dedicate to the OS. Here I would choose something like 64 MB or 128 MB to be on the safe side.
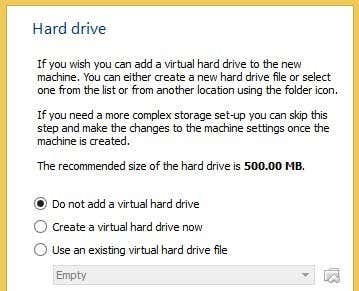
Click Next and you have to choose whether you want a hard drive or not. In my case, I chose Do not add a virtual hard drive because I only want to load the bootup screens and don’t need to actually install anything.
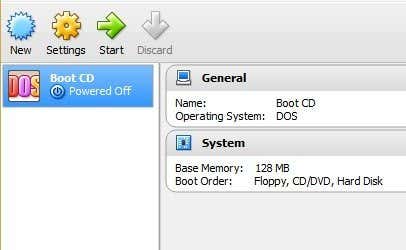
You’ll get a pop up message when you click Next warning you about not having a hard drive. You can just ignore that. Go ahead and click Finish to finalize the virtual machine. Now that you have set it up, you have to tell VirtualBox where the bootable device or image actually resides.
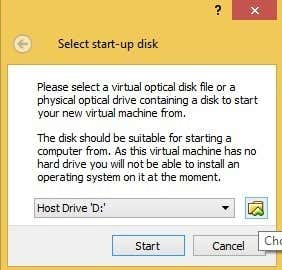
To do this, select the virtual machine in the left menu (Boot CD in my case) and click on the Start button. You’ll get a pop up message asking you where the startup disk is located. By default, it will show you the drive letter for your physical CD/DVD drive. Make sure the CD/DVD is inserted before you press Start.
If you have an ISO image, then click on the small little folder icon to the right of the drop down box and it’ll let you select an ISO image. That’s about it. Click Start and you’ll be amazed to that you can watch the whole boot process right inside your current Windows/Mac/Linux session!
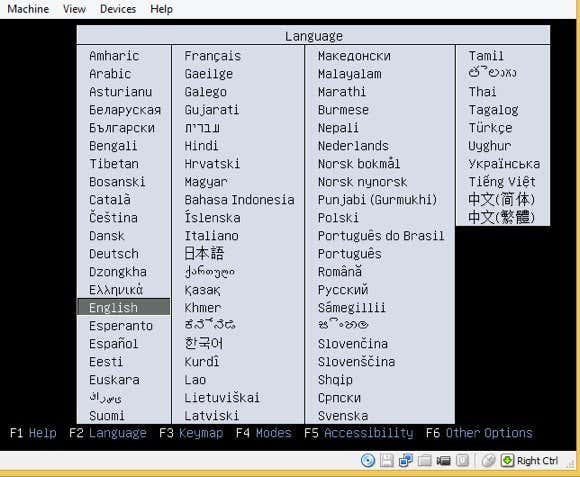
As you can see from the screenshot above, I have a boot repair ISO image that I loaded up into VirtualBox so I could take screenshots of it for my next article. Pretty sweet! Have any questions? Let us know in the comments. Enjoy!

