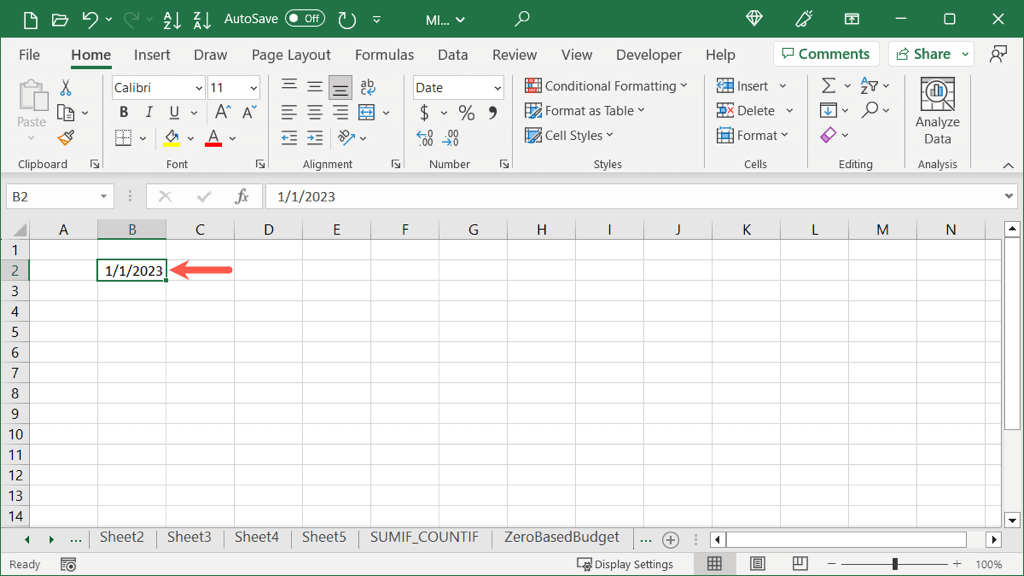
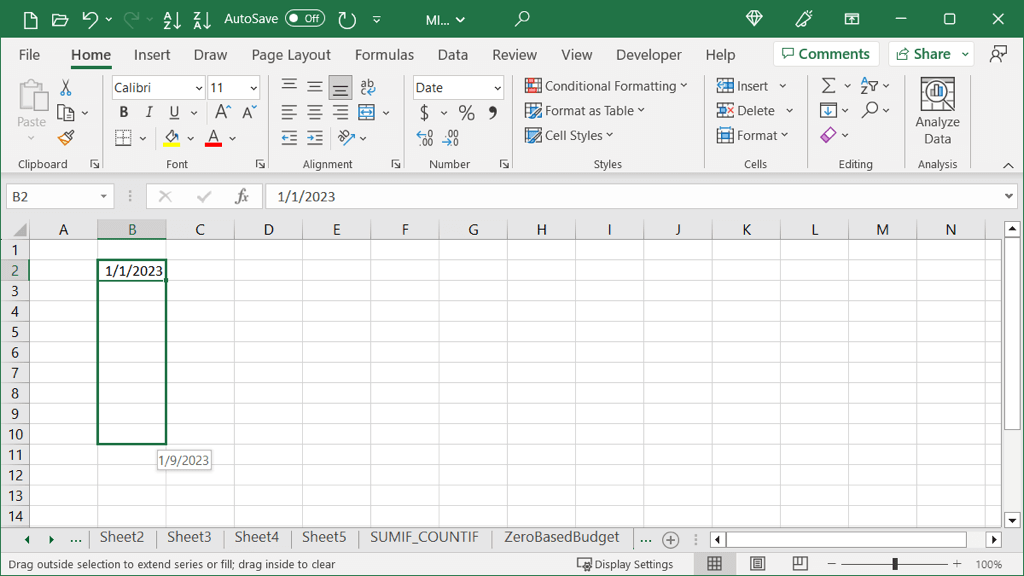
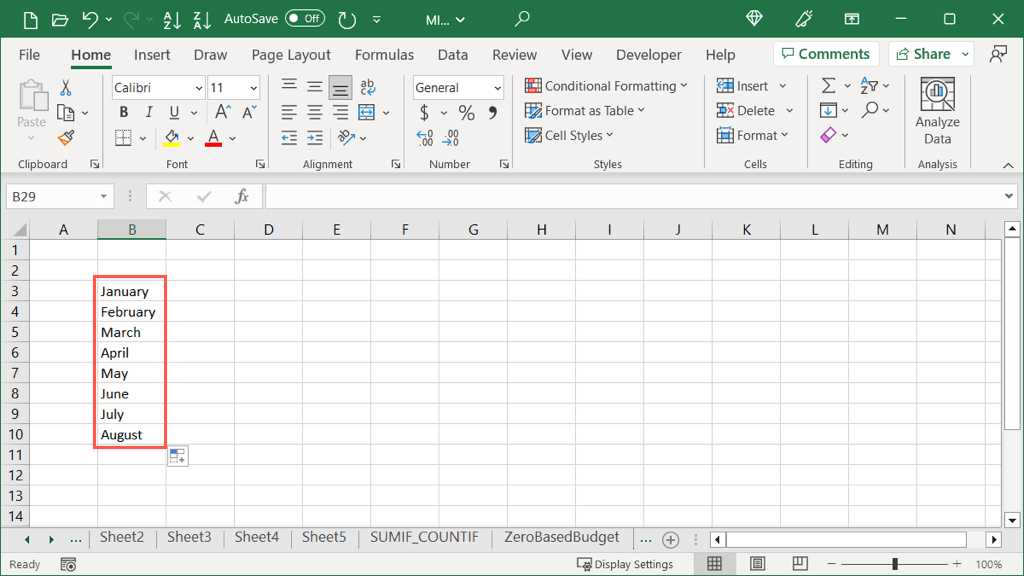
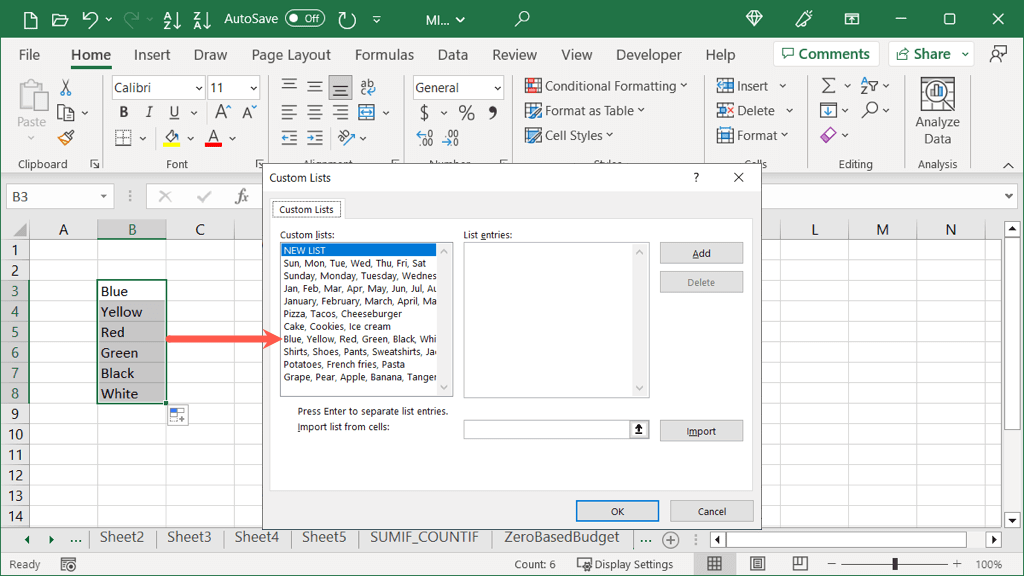
You can use Autofill for simple tasks like filling in the days of the week. But you can take this tool further and fill dates, patterns, and formatting. What’s more, you can fill cells with values that increase by a certain amount and even combine text from different rows. Even if you’ve used Autofill before, take a look at these various ways to use the feature that you may not realize exist. That’s right, it’s time to make the most out of the Autofill feature in Excel. Starting with the simplest task you can perform with Excel Autofill, you can easily fill a list of items. This includes built-in lists or custom lists you create. Excel offers months and days as full words or three-letter abbreviations built right in. Let’s use the list of days as an example. If you have custom lists set up in Excel, the application recognizes this as you use Autofill too. Here, we have a custom list of colors that we can enter using Autofill. Tip: To view or create lists, go to File > Options. Select Advanced on the left and the Edit Custom Lists button on the right.
Autofill a Pattern
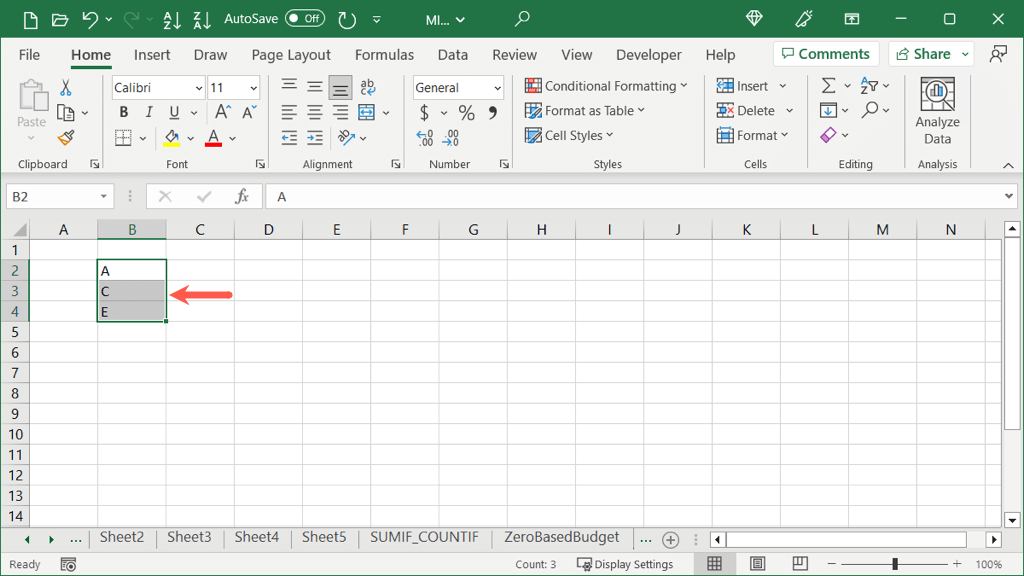
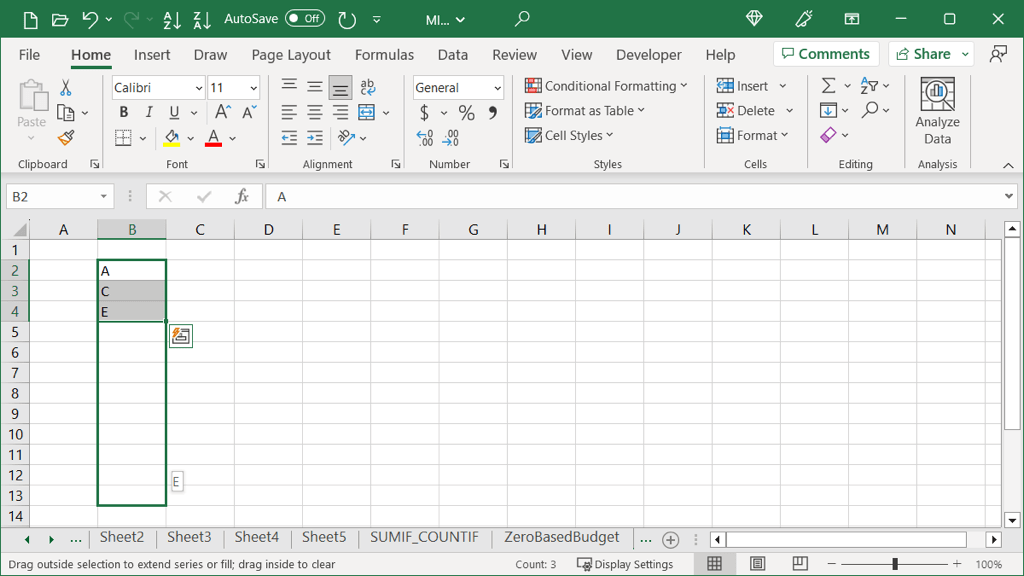
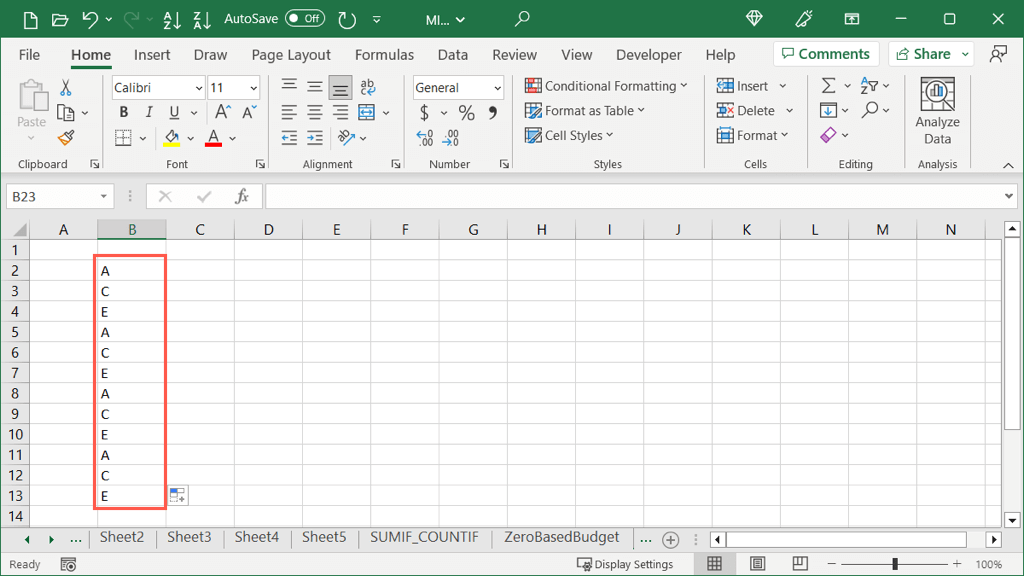
Another great way to use Autofill is when you have a pattern in your data. Maybe you have ranges of numbers or letters in your dataset. By selecting two or more cells, you can drag to fill the remaining cells. For a basic example, we have letters A, C, and E. We want to fill the remaining cells with the same letters in that order.
Autofill Dates
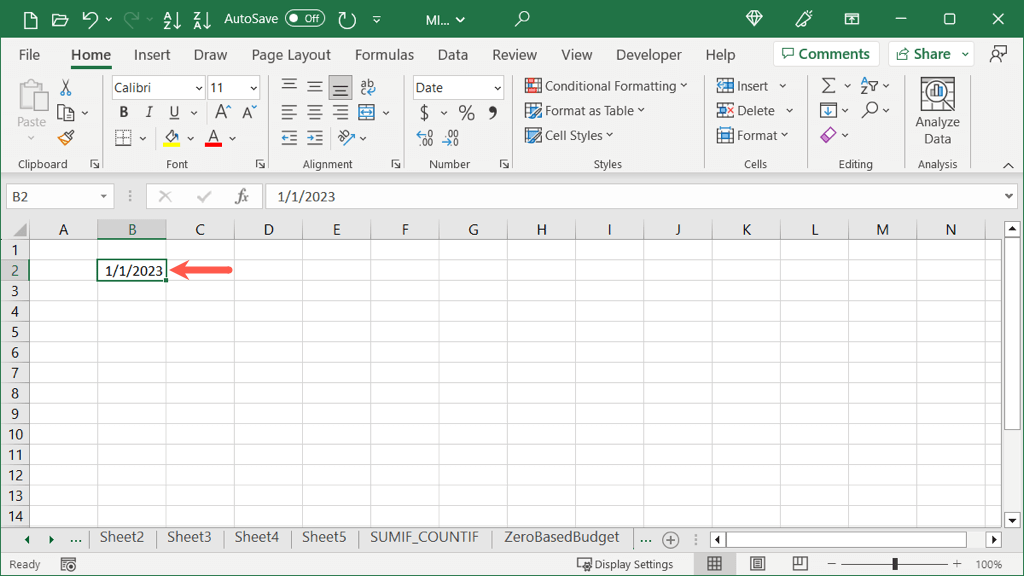
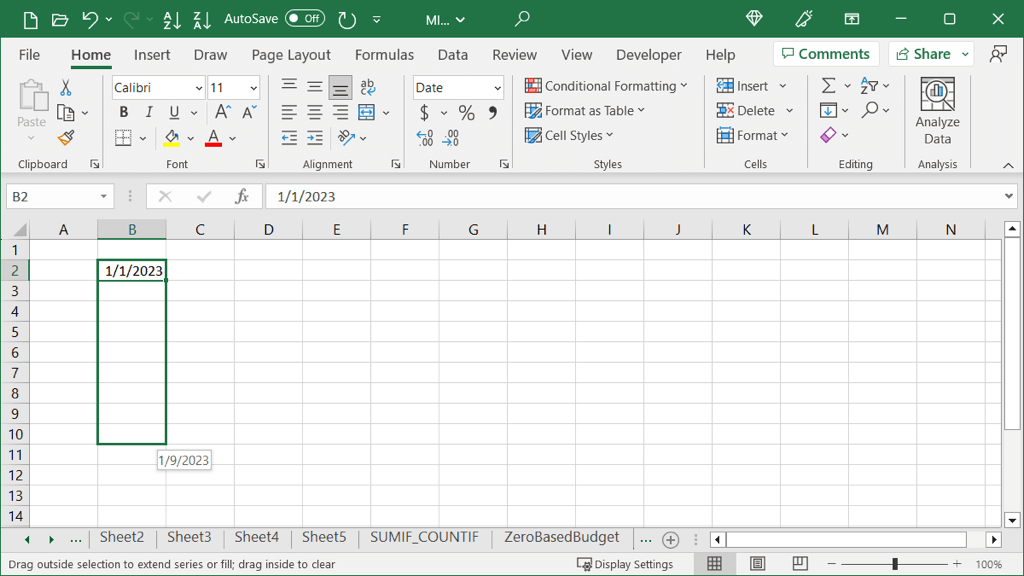
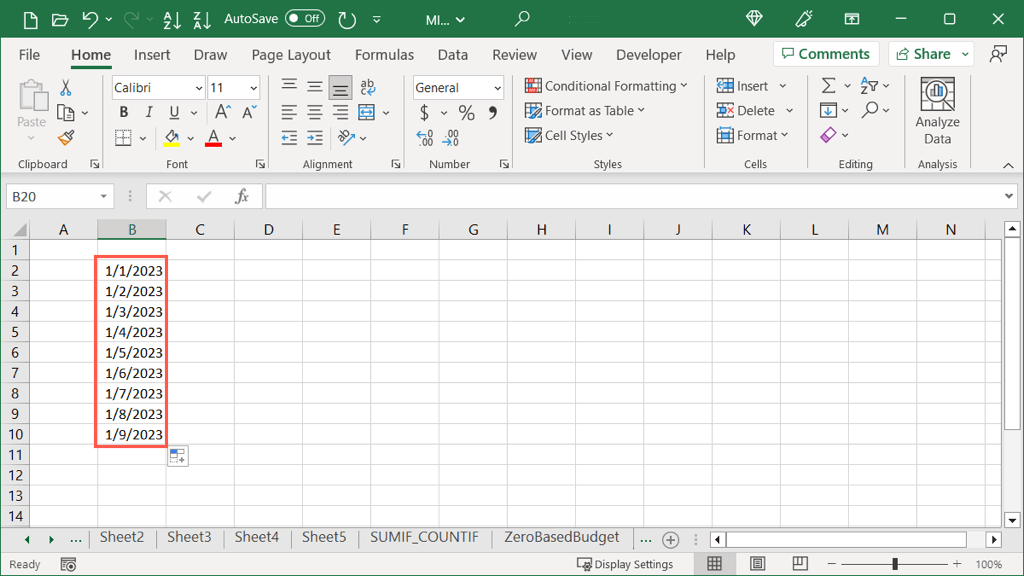
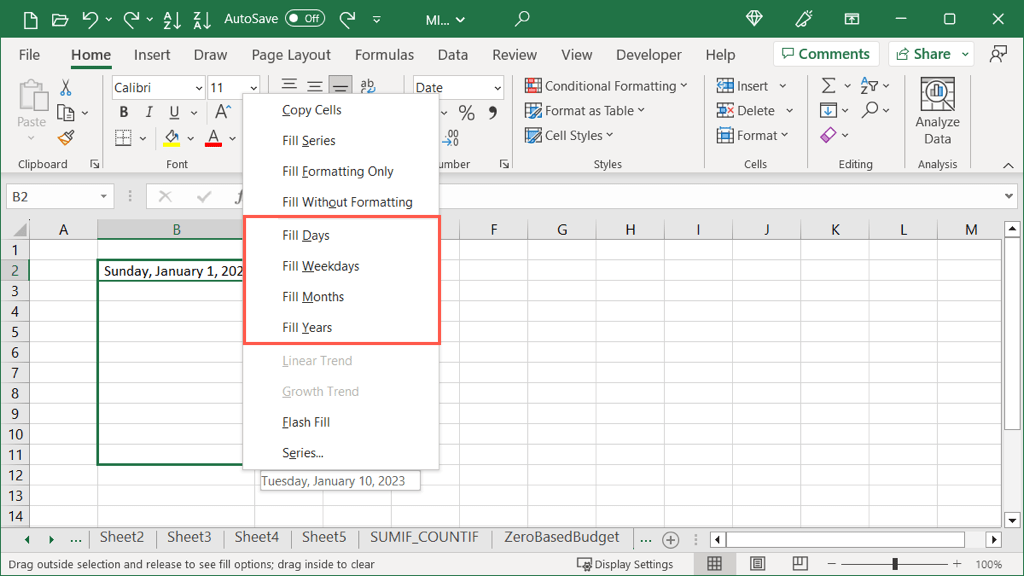
When you enter dates in Excel, the application is smart enough to recognize this which allows you to use Autofill to complete a sequential series of dates. Additionally, you can fill in the dates by adjusting the month, day, or year, giving you more than one option.
Basic Fill Adjusting Dates
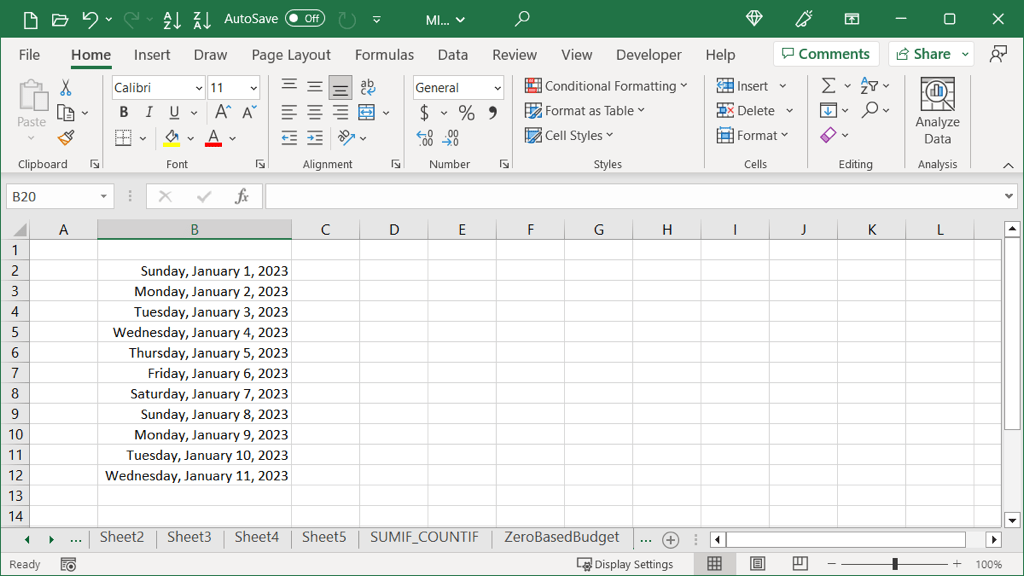
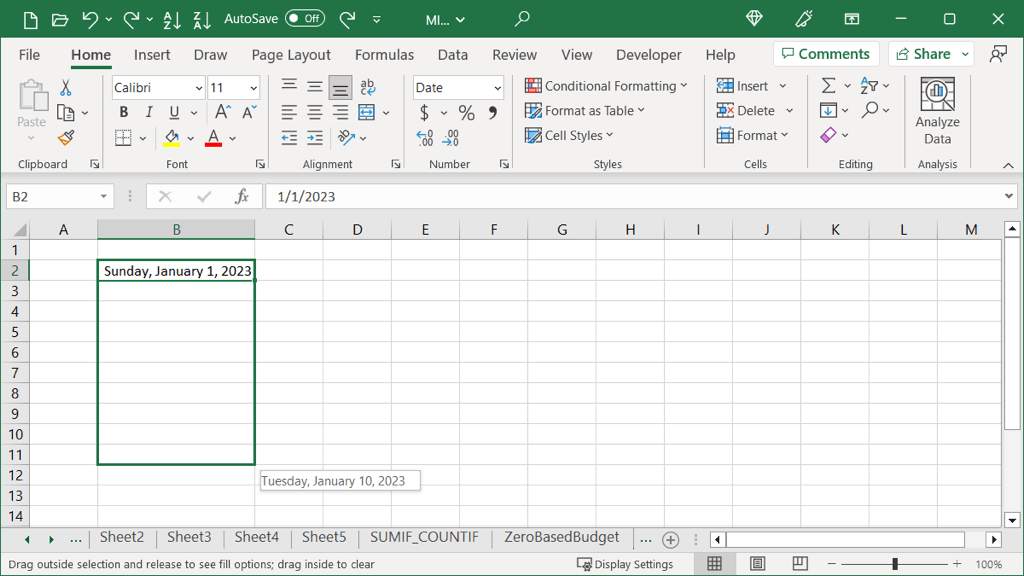
By default, when you use Autofill for the Short Date format (MM/DD/YYYY), you’ll see the date increase automatically. If you choose the Long Date format instead (Day, Month, Date, and Year) it works the same way. You’ll see the date increase by one.
Other Date Autofill Options
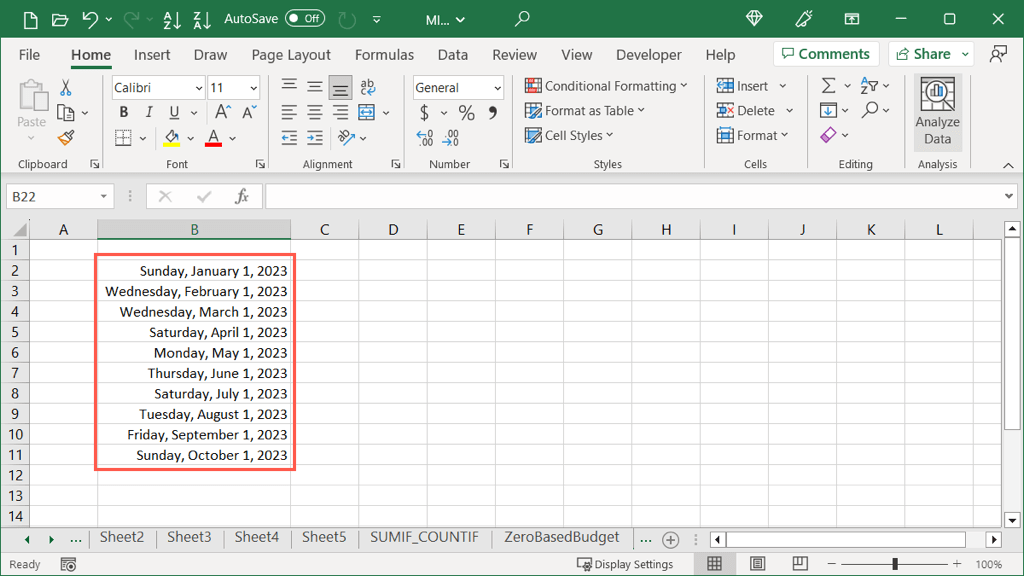
Along with the above two simple fill options for dates, you have additional options to increase the weekdays, months, or years rather than the dates. You’ll then see your dates filled with the option you selected. Here, we picked months.
Autofill With or Without Formatting
Another super handy way to use Autofill in Excel is for formatting. You can fill cells with only the formatting from your selected cell or with the data not including the formatting. Let’s look at a couple of examples.
Fill Formatting
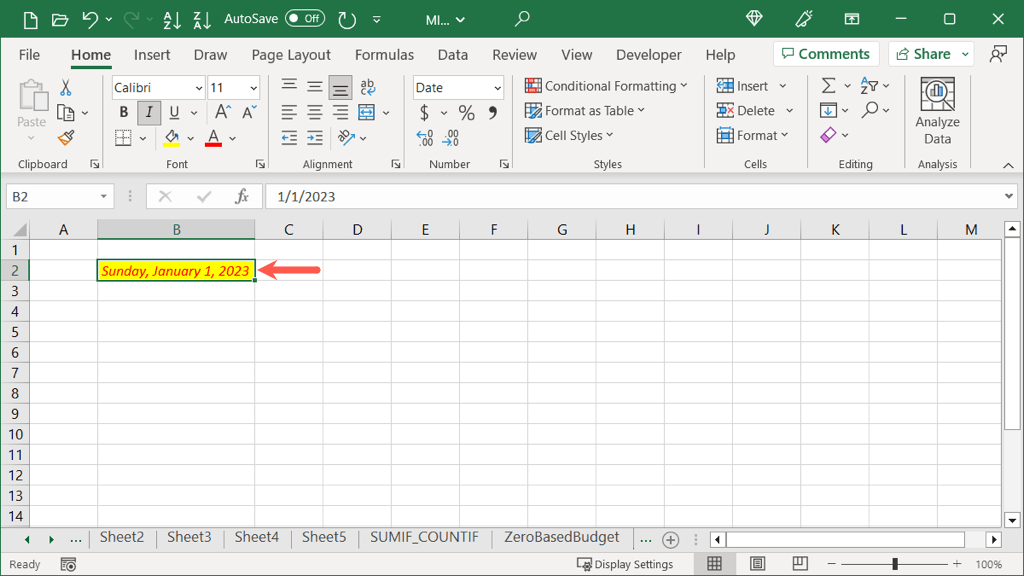
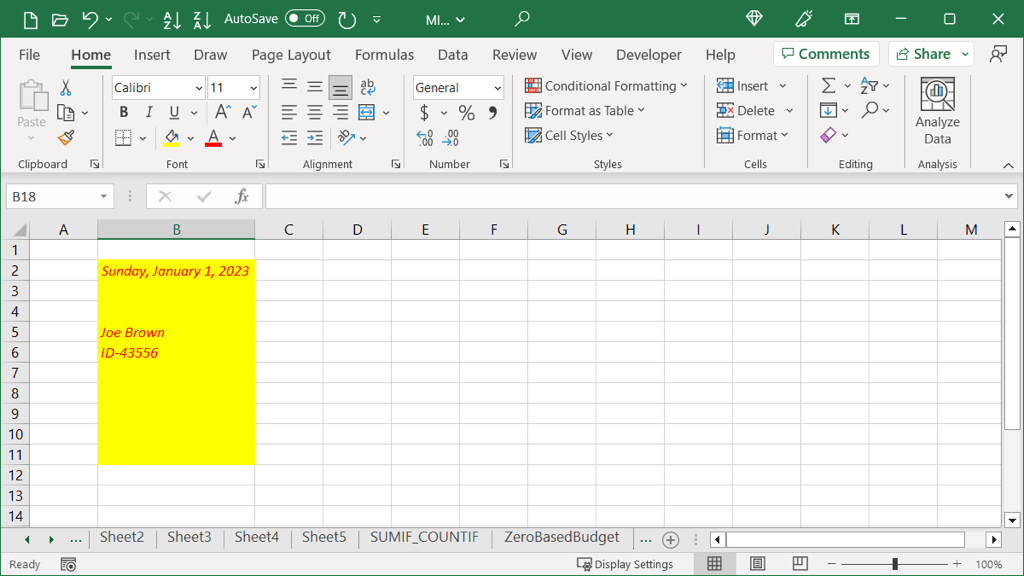
Here, we have a cell formatted with red, italic font and a yellow fill color. We plan to enter other data in the cells unrelated but want to copy that formatting to save some time. Then, when you enter text into one of the cells you filled, you’ll see it’s formatted the same as your selected cell.
Fill Without Formatting
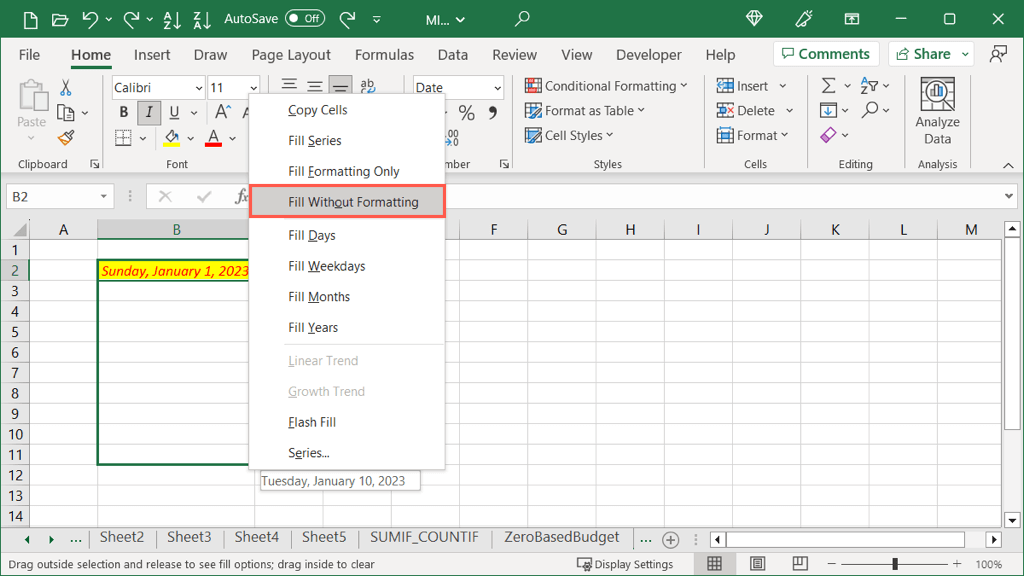
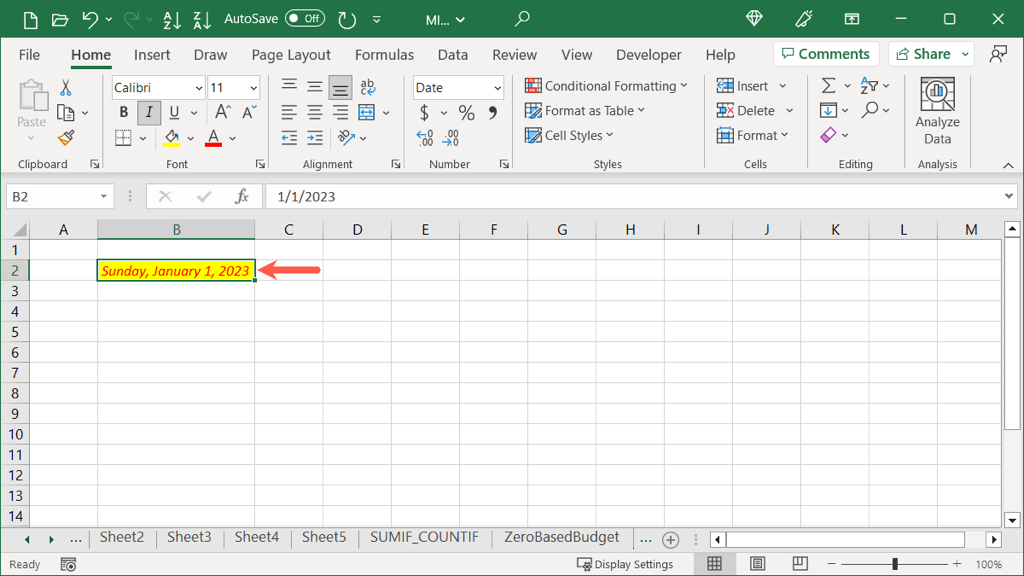
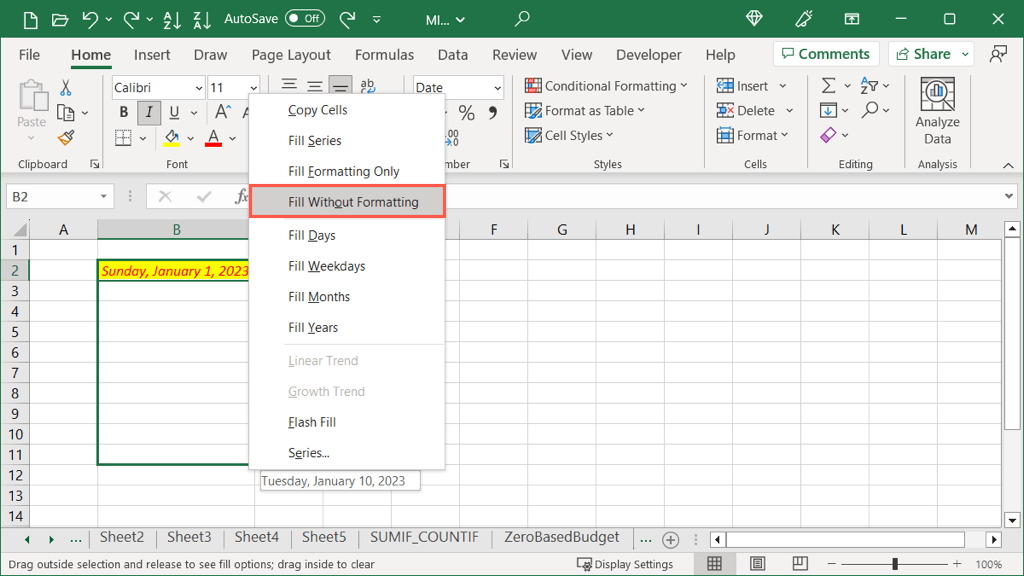
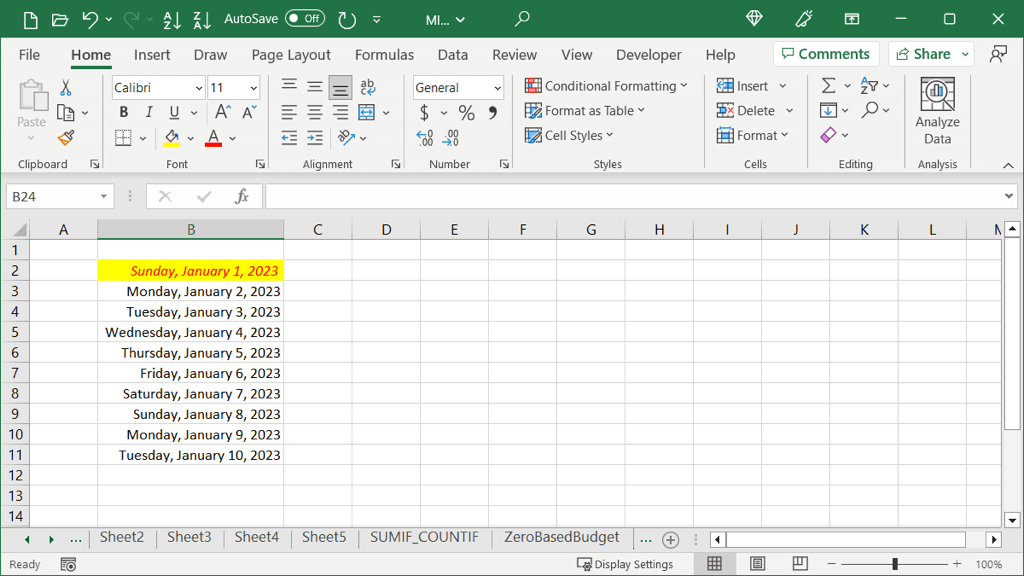
Maybe you want to do the opposite of the above. You can fill the data but remove the formatting. Here, we’ll use a cell with the same formatting as above; however, we only want to fill the dates. Then, you’ll see the data fill the cells but without the formatting.
Autofill Linear Amounts
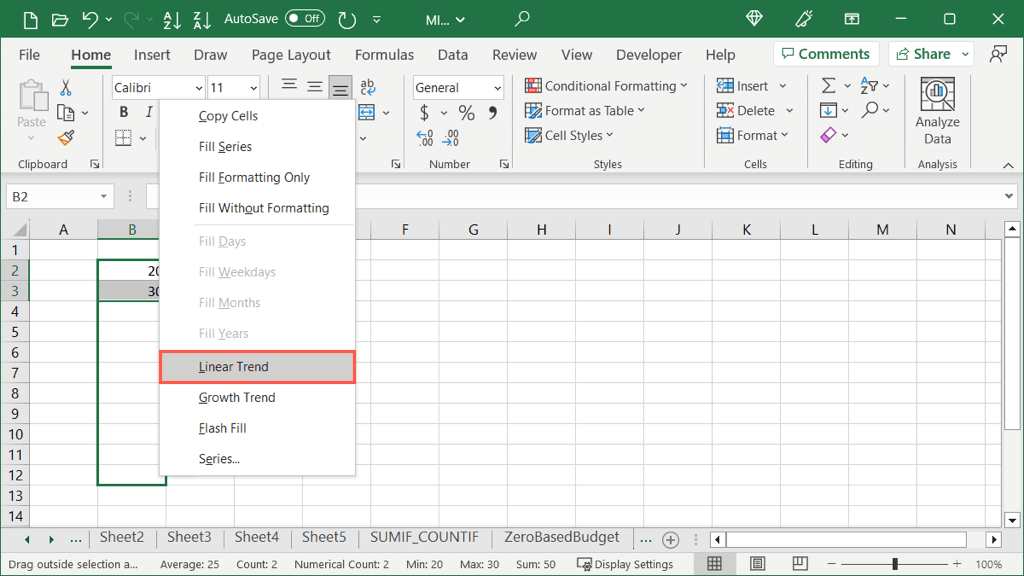
If you have numbers you want to fill that increase in each cell, you can use Autofill as well. With the Linear Trend option, each amount is increased by the amount in the cells you select. This is best explained with an example. Here, we have numbers 20 and 30. With the Linear Trend Autofill, we can fill the remaining cells with each increasing by 10 because this is in the increase between 20 and 30. You’ll then see your increased numbers.
Exact Linear Amounts
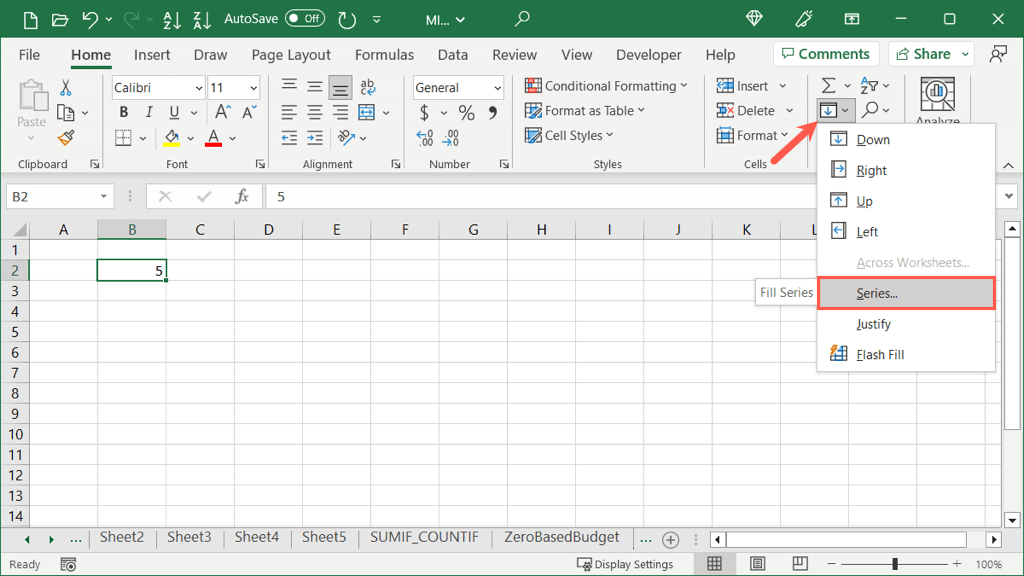
If you prefer to select the exact value for the increase as well as the stopping value, you can do this using the Autofill button and a single cell instead. You’ll then see your cells filled starting with the number you selected, adding the step value to each, and ending by the stop value.
Autofill Growth Amounts
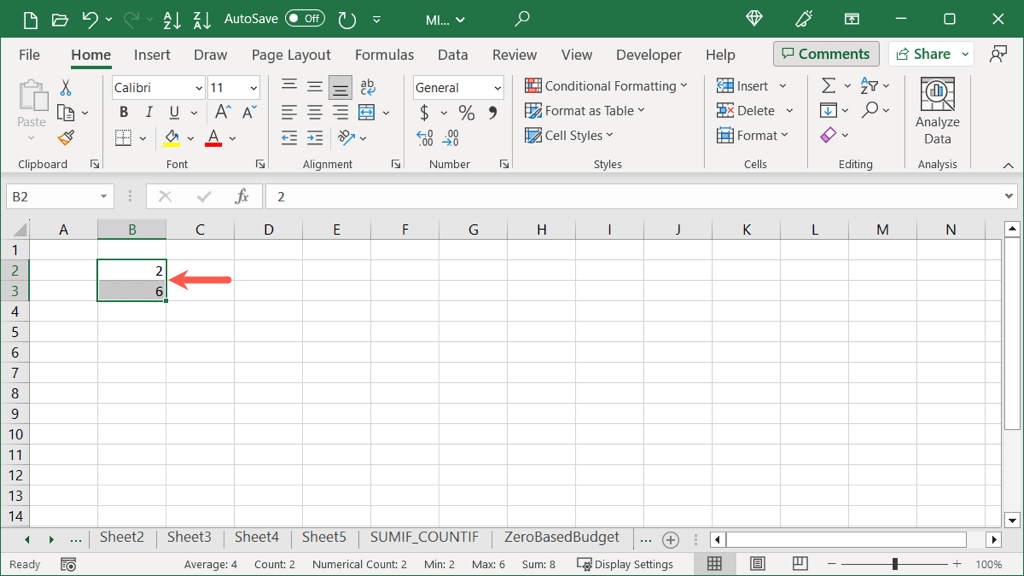
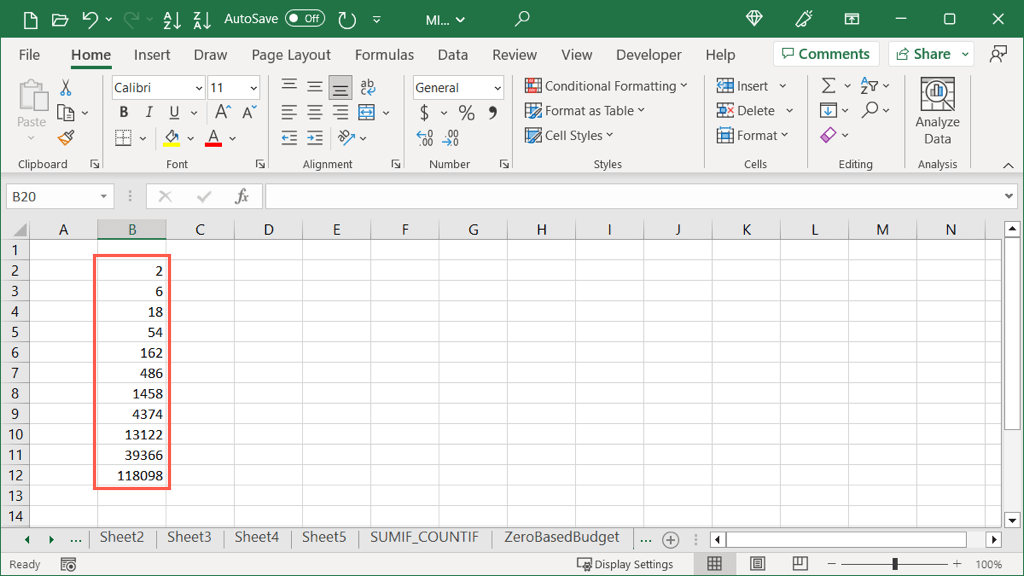
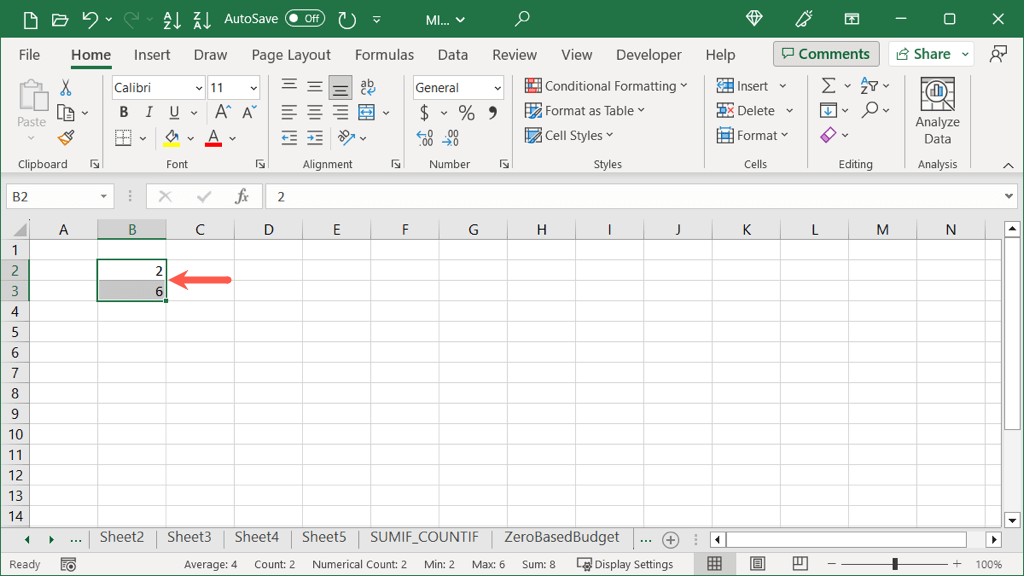
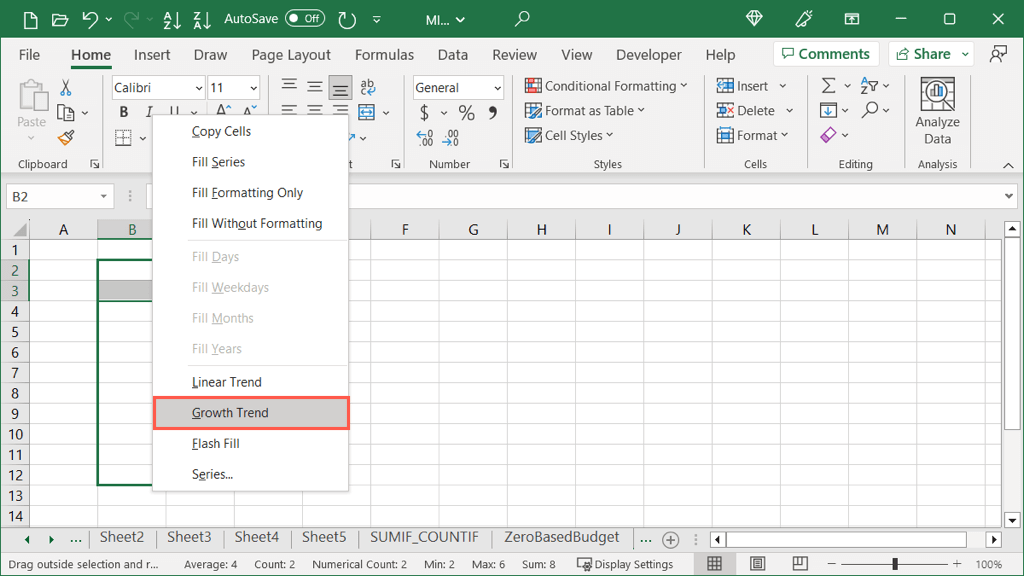
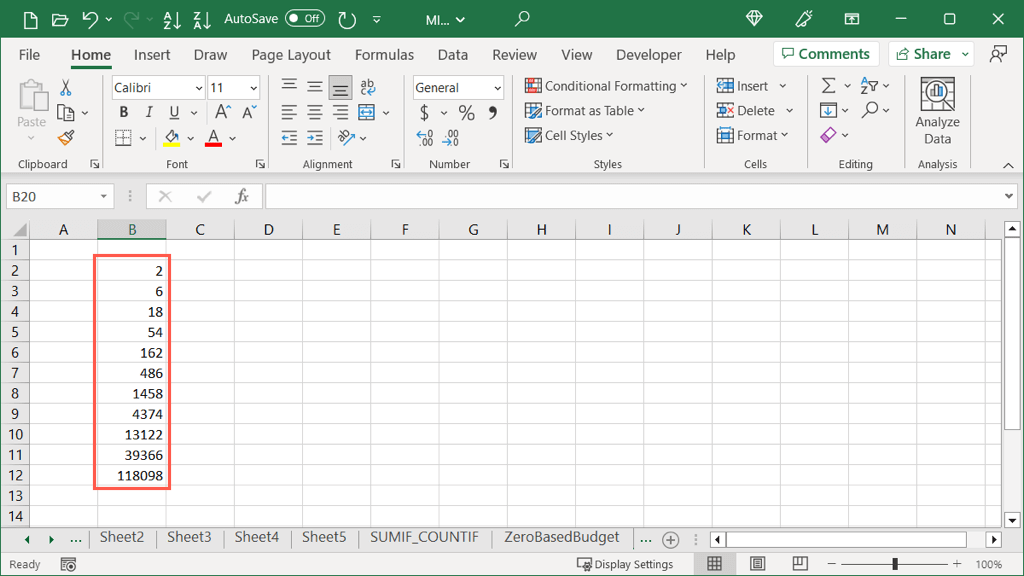
Similar to the Linear Trend option above is the Growth Trend. The difference here is that the numbers are multiplied by a step value rather than added. Here, we have numbers 2 and 6. With the Growth Trend Autofill, we can fill the remaining cells with all numbers increasing by multiples of 3 because this is the increase between 2 and 6. You’ll then see your multiplied numbers.
Exact Growth Amounts
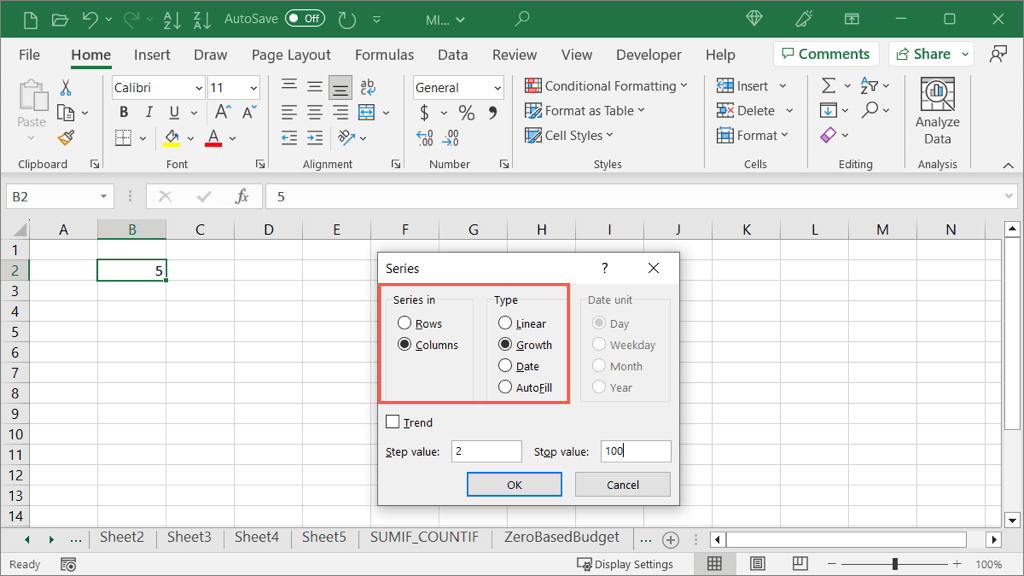
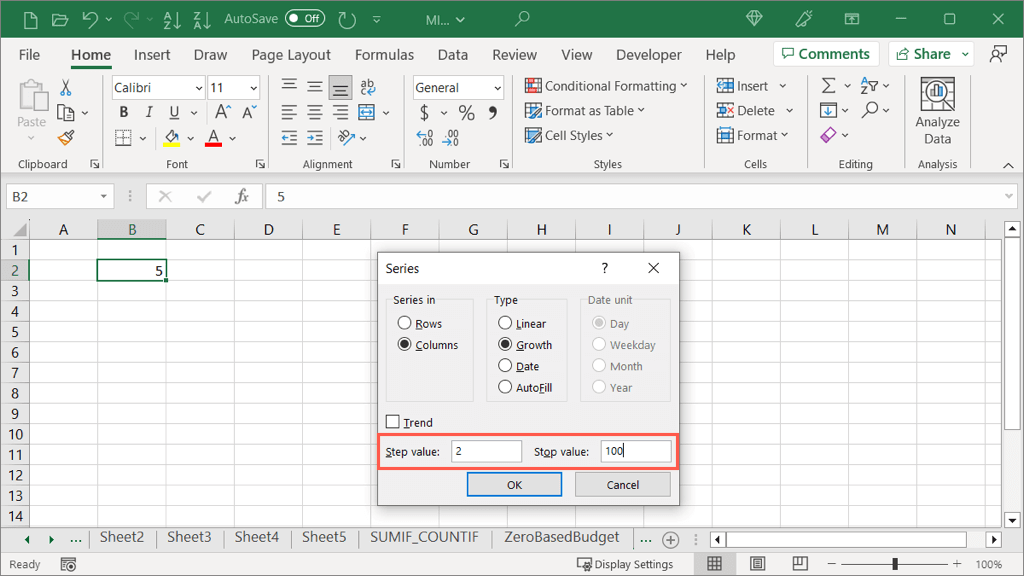
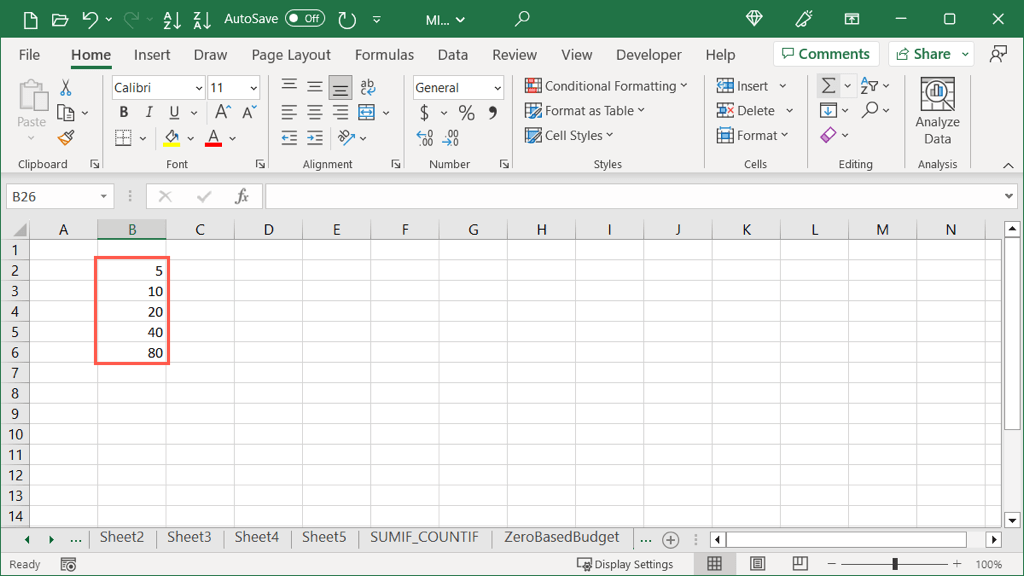
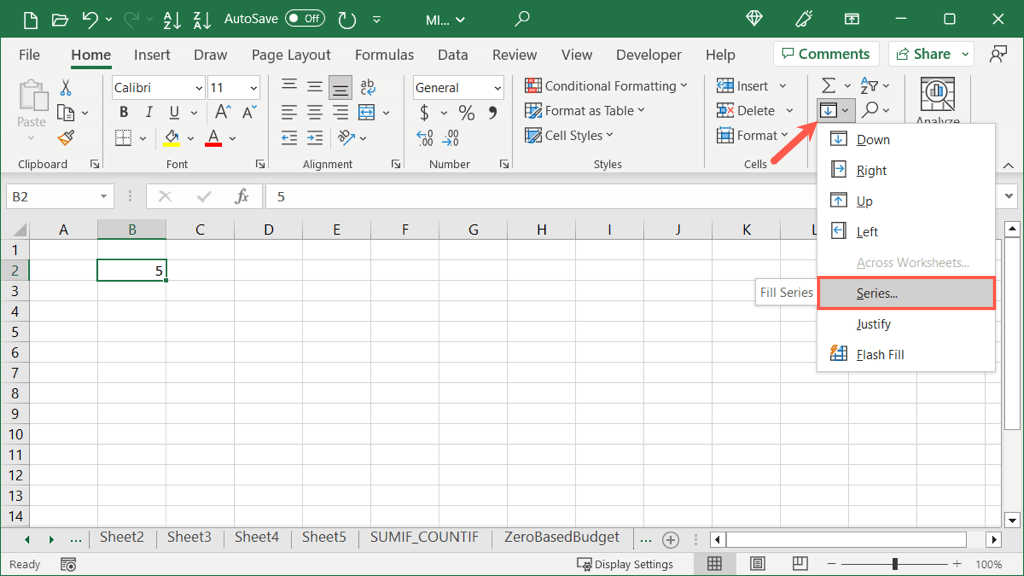
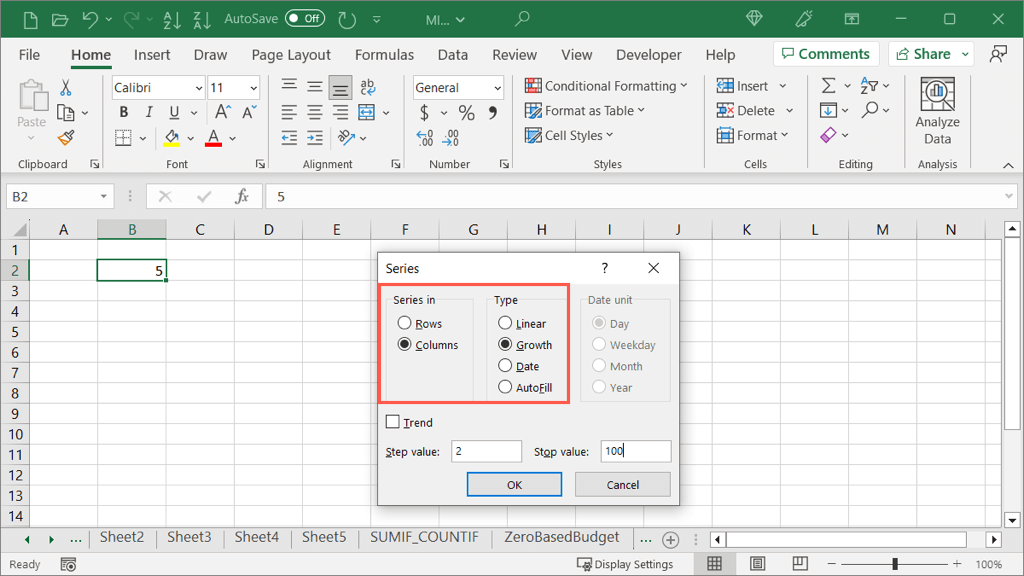
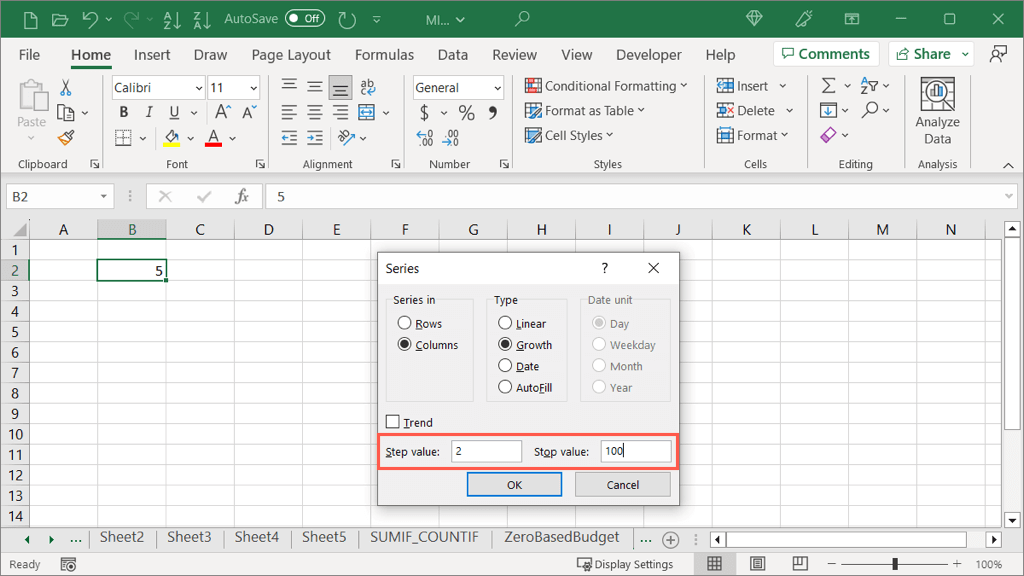
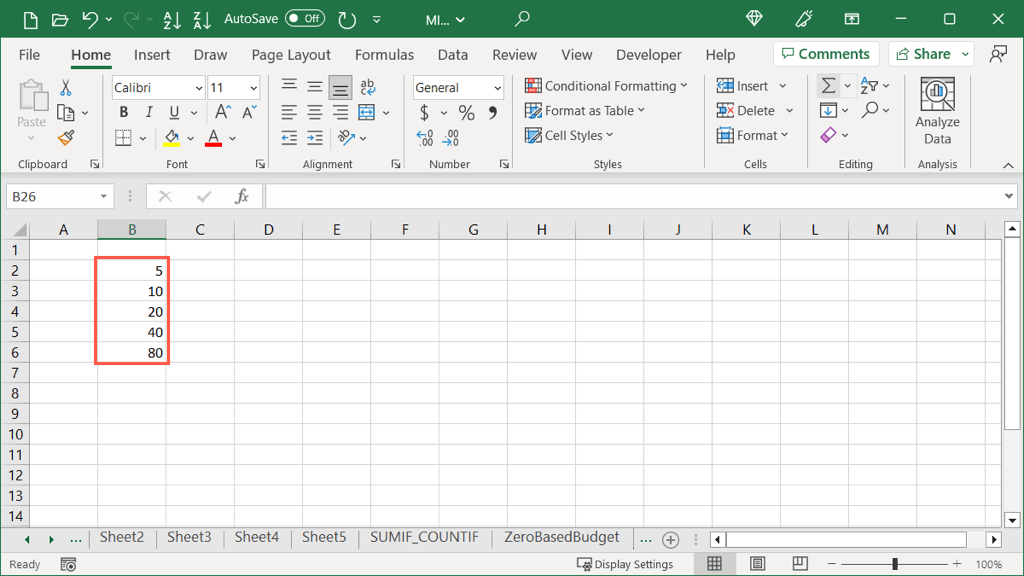
If you prefer to select the exact value for the Growth increase as well as the stopping value, you can do this using the Autofill button just like with the Linear Autofill. You’ll then see your cells filled starting with the number you selected, multiplying the step value, and ending by the stop value.
Autofill to Combine Text
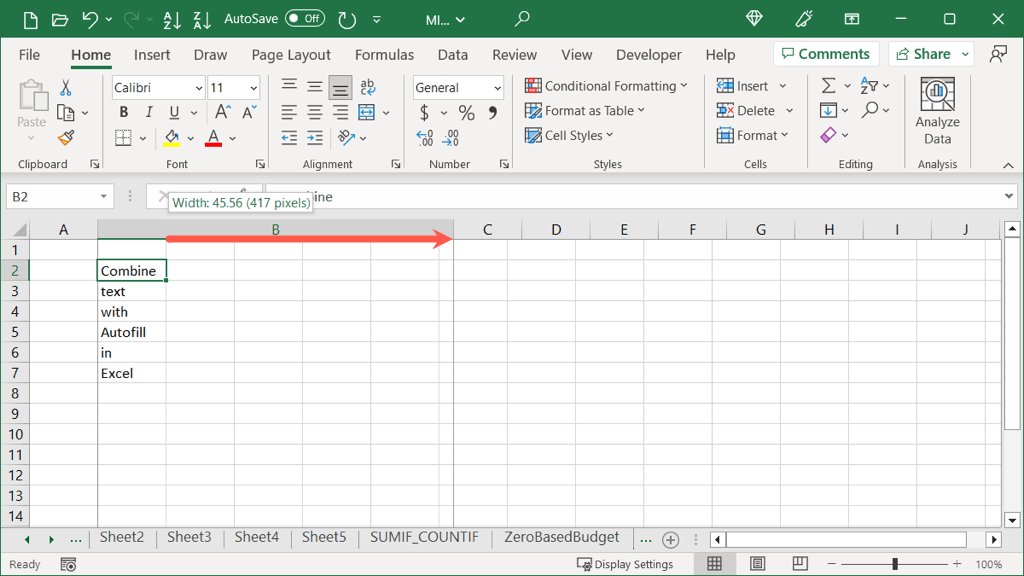
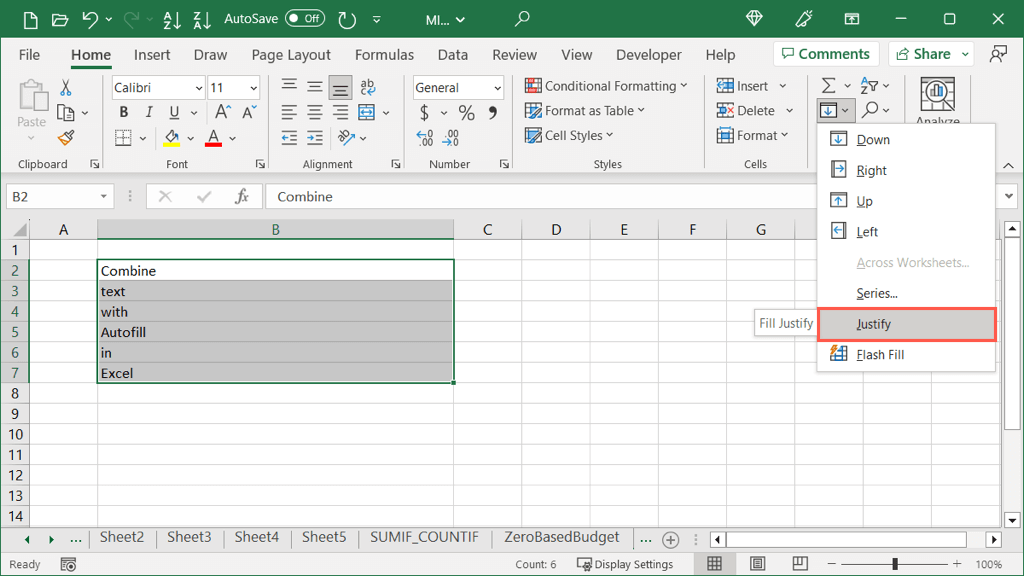
One more time-saving task you can perform with Autofill is to combine text in different rows into a single cell. This is called Fill Justify and is a super cool feature. You’ll then see the text from all cells combined into a single cell.
Use Autofill’s Full Potential
Autofill in Excel can be used for more than simply filling in days of the week. With these more advanced uses, you can not only save time, but reduce the risk of errors from typos or miscalculations in your worksheet at the same time. For more, look at how to use Flash Fill in Excel too.

