By digitizing your DVDs, you can have them all in the same place while taking up less physical space. It can seem daunting to digitize your movies and you may be unsure of how to do so, but once you know how, it’s relatively easy to do for each one. Just be sure you put a good amount of time aside, especially if you have a lot of DVDs you want to digitize. Here’s how to change your physical DVD library into a digital one.
Use a Program to Digitize DVDs
In order to digitize your DVD movies, you will need a DVD ripping program. There are many out there you can use for this. In this article we’ll show you how to use two options, WinX DVD Ripper and Handbrake.
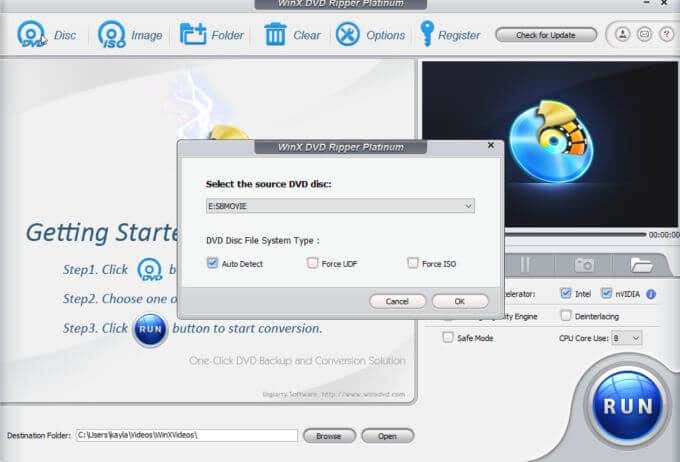
WinX DVD Ripper
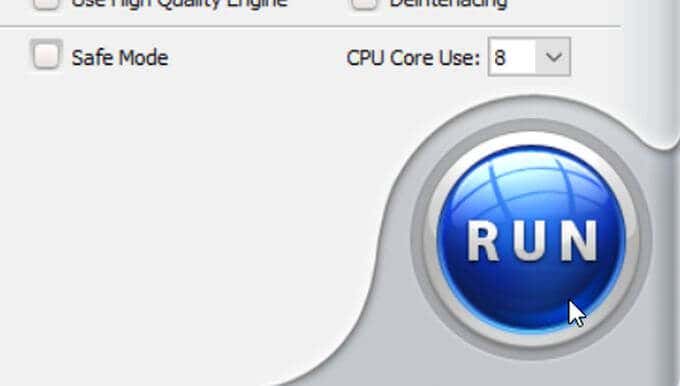
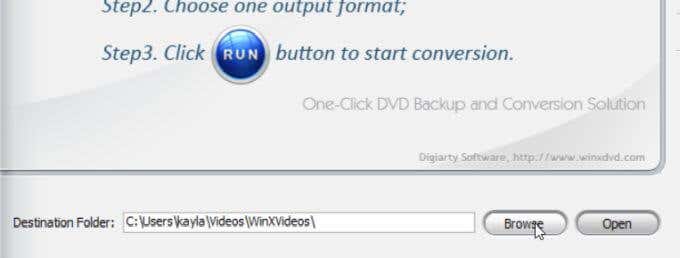
Download WinX DVD Ripper and then open it when you’re ready to start copying (ripping) your DVDs. Follow these steps to use WinX DVD Ripper on your DVDs: It may take awhile to digitize your DVD, but you can follow the progress by looking at the pop-up window. Once finished, you’ll be able to find the ripped file in your file explorer. At the bottom of the WinX DVD ripper you’ll see a text box where you can select where you want the file to be saved to. This is where you’ll find the ripped file.
Handbrake
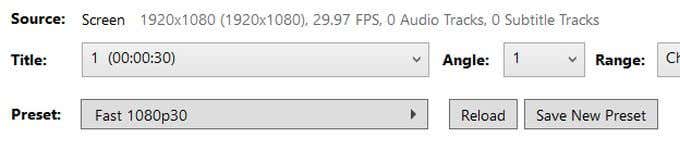
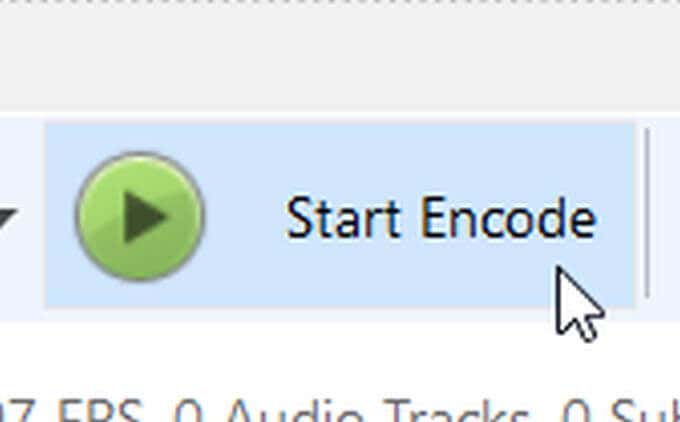
If you want a completely free option for digitizing DVDs, you can use the program Handbrake. It works very similarly to WinX DVD Ripper, though it may seem a bit more complicated to use. The program doesn’t support removing copy-protection, which nearly all commercial videos have. However, there is a workaround to this. Follow these instructions to use Handbrake, and once you get the hang of it you’ll be able to digitize all your DVDs without issue. Once the rip is done, you’ll be able to find it where you chose the destination file to be.
Find a Place to Save Your DVDs
Once you’ve digitized DVD movies, find a place to save your files. There are many movie cataloguing programs out there to download that allow you to store and organize your movie files. Some good examples of these programs are All My Movies and Plex. However, there are many of them out there, and most of them work the same way. You can upload your files to the program and they will automatically archive and catalogue it. If you have a good amount of digital movies after digitizing your collection, using a program like this is a good option. You may also want to offload some of your files to a cloud service, especially if your collection is taking up a lot of space on your computer.
Use Vudu and Movies Anywhere
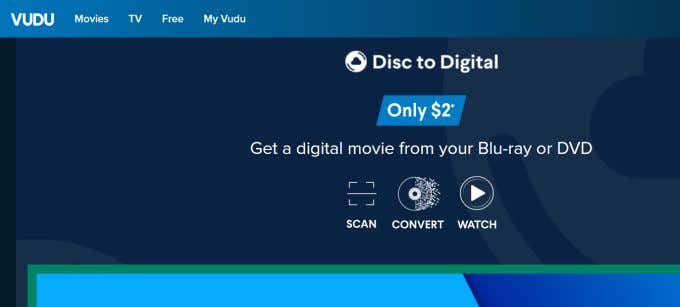
If you don’t want to take the time to digitize your DVD movie collection, there is another option that takes much less time. The streaming service Vudu offers a way to digitize digital movies that they support for $2 each. All you have to do is scan your movie’s barcode and Vudu will give you the digital version of that move if they have it in their database. It isn’t free, but it does save considerable time.
Digitizing Your DVD Collection Is Easy
No matter what method you choose, you’ll find that you have many options for whatever goal you have to create a great movie library. In no time, you’ll be able to organize, find and watch your favorite films from anywhere, at any time, without the limitation of physical DVDs.